Make sure you have completed building the Power Board before building the Control Board.
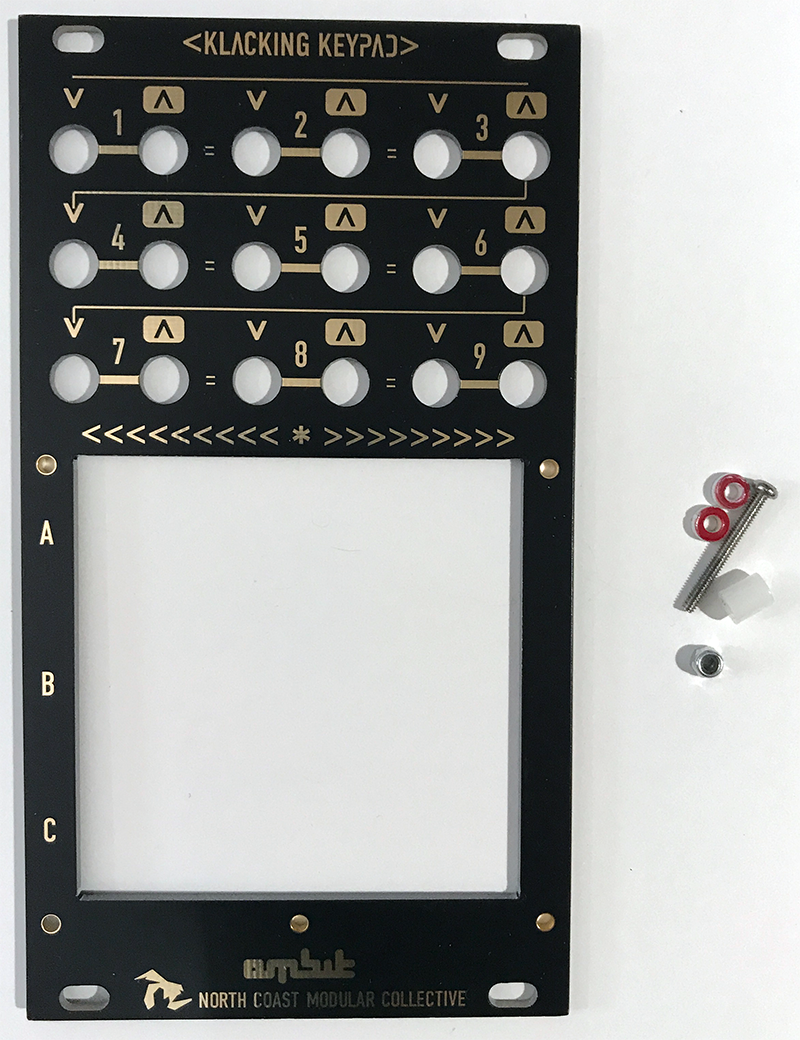
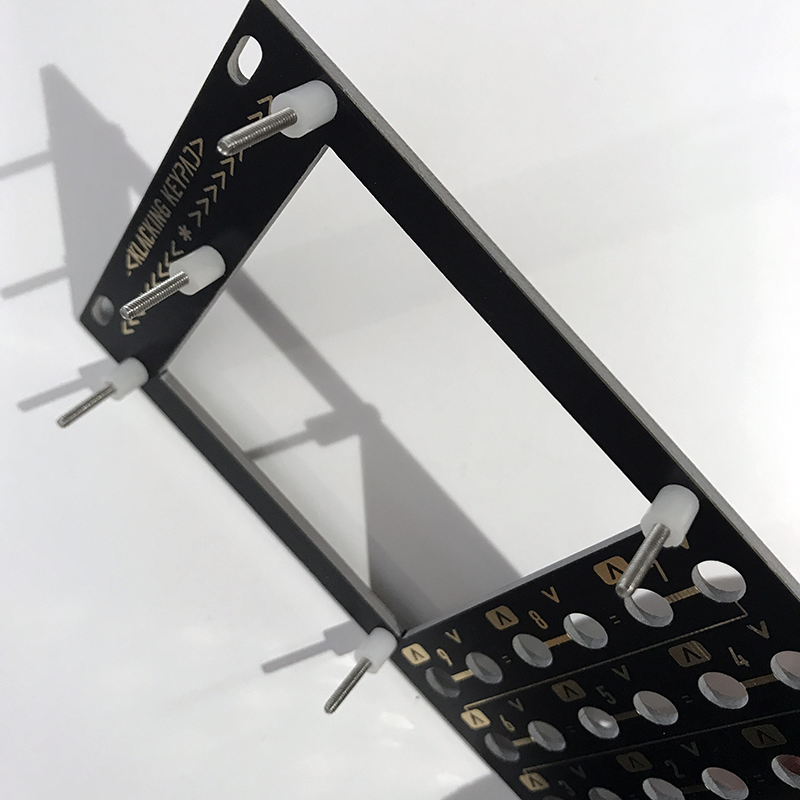
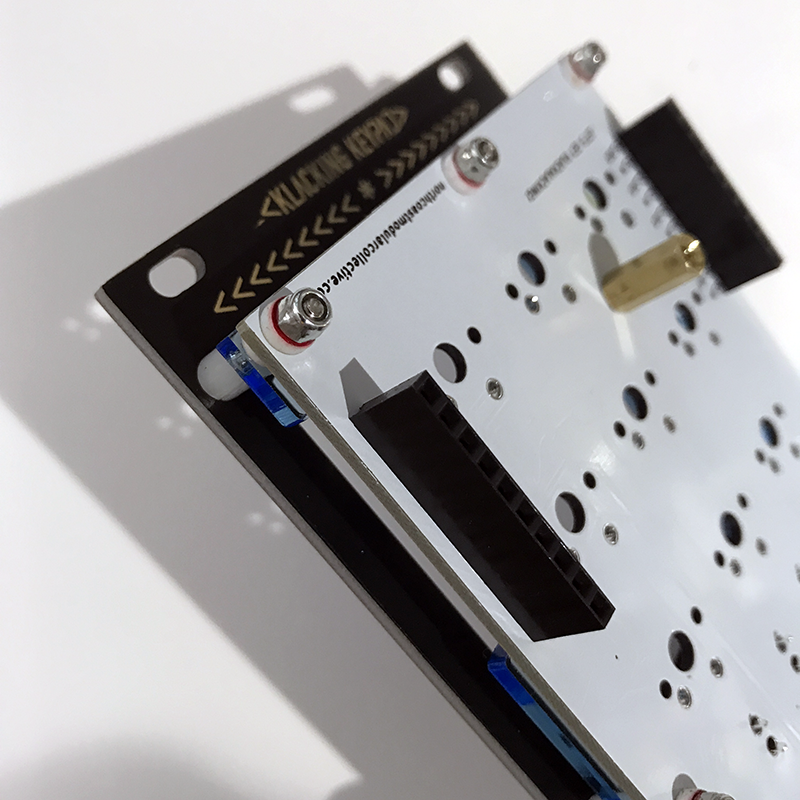
The notches on the sides are to avoid the header pins on the Control Board. The larger hole is for the spacer bolt. Make sure these are in the correct position before placing on the Control Board.
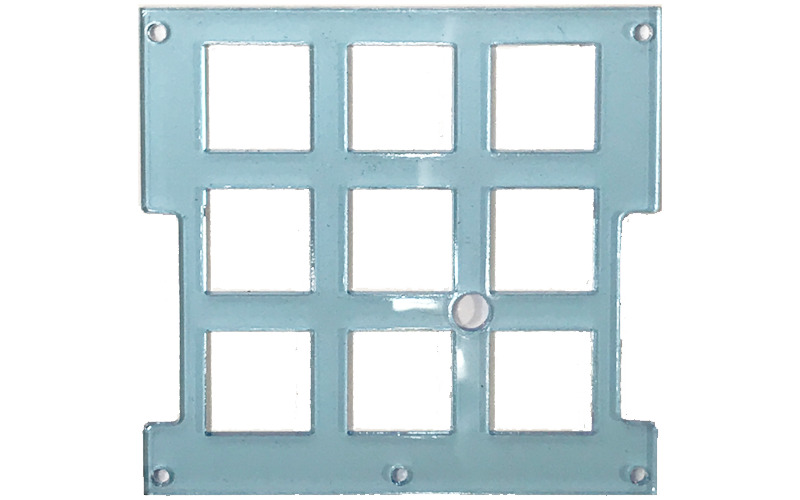
You might need to twist the spacers to get them in place.
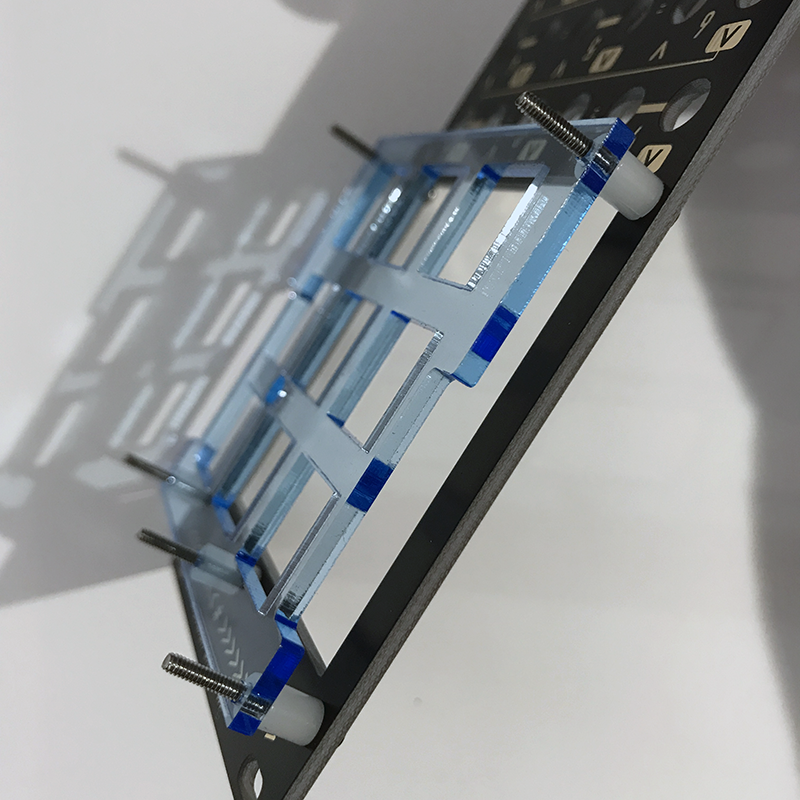
Make sure the acrylic plate hole is on the correct side.
Make Sure Bolt and Standoff are in Place on the Control Board Before Next Step
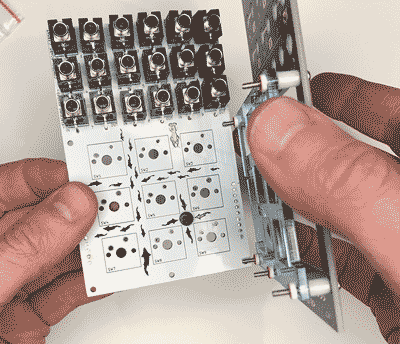
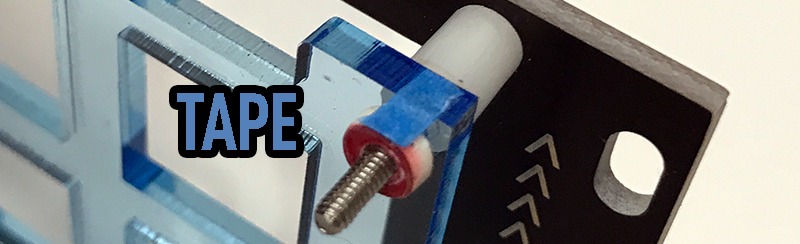
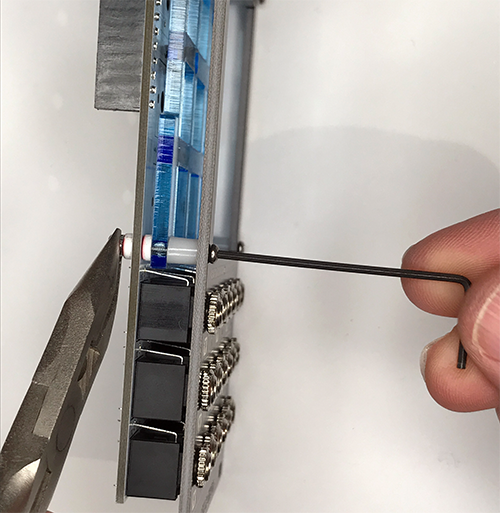
This can be tricky. The goal here is to put the faceplate with spacers and support plate on top of the control board without anything falling out of place. Keep the Control Board with Thonkiconns flat. The Thonkiconns will fall out of place if you tilt the Control Board. You could use small pieces of tape to hold the spacers in place when flipping the faceplate over. Remove the tape when the M2 bolts are through the Control Board.
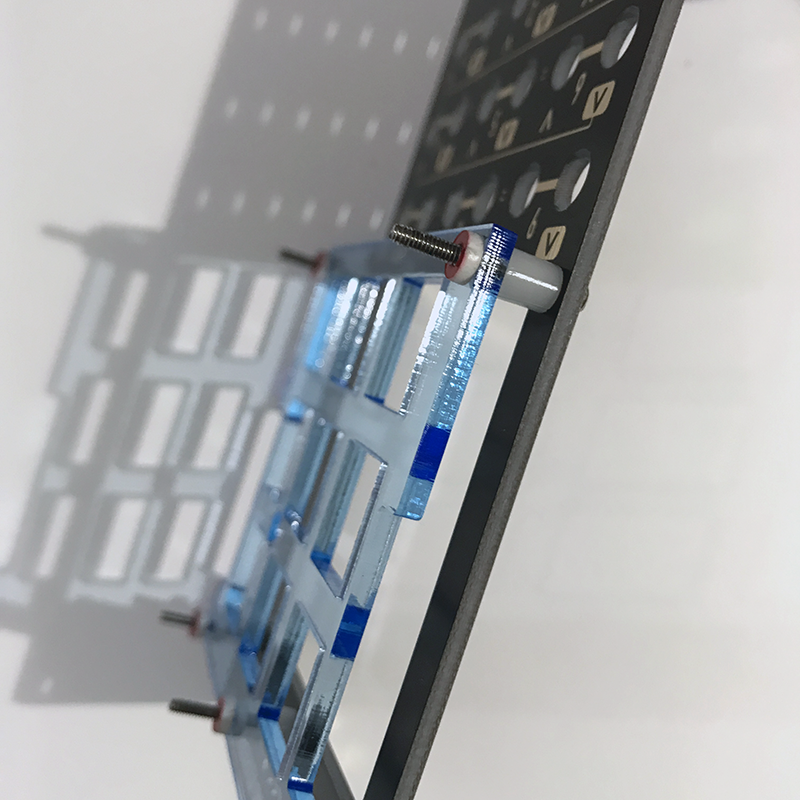
Tighten the nuts until the end of the M2 bolt is flush with the nut.

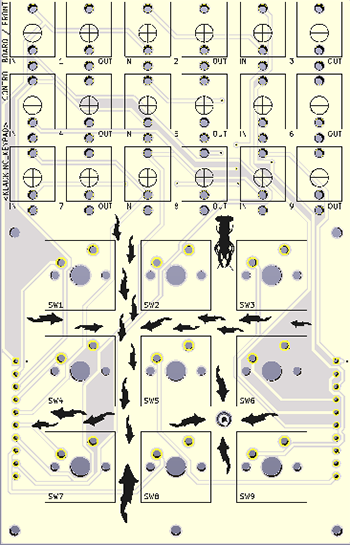
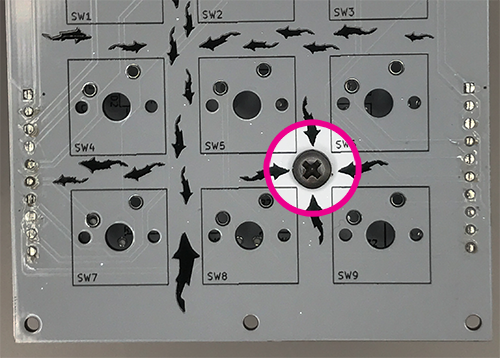
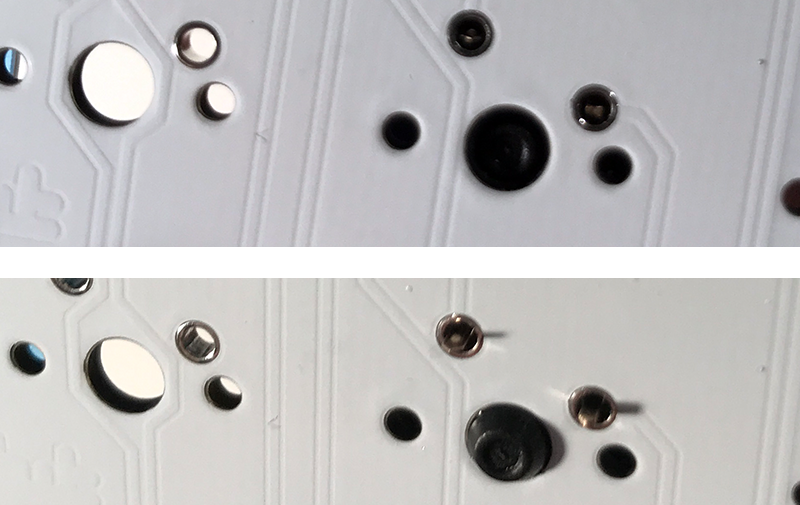
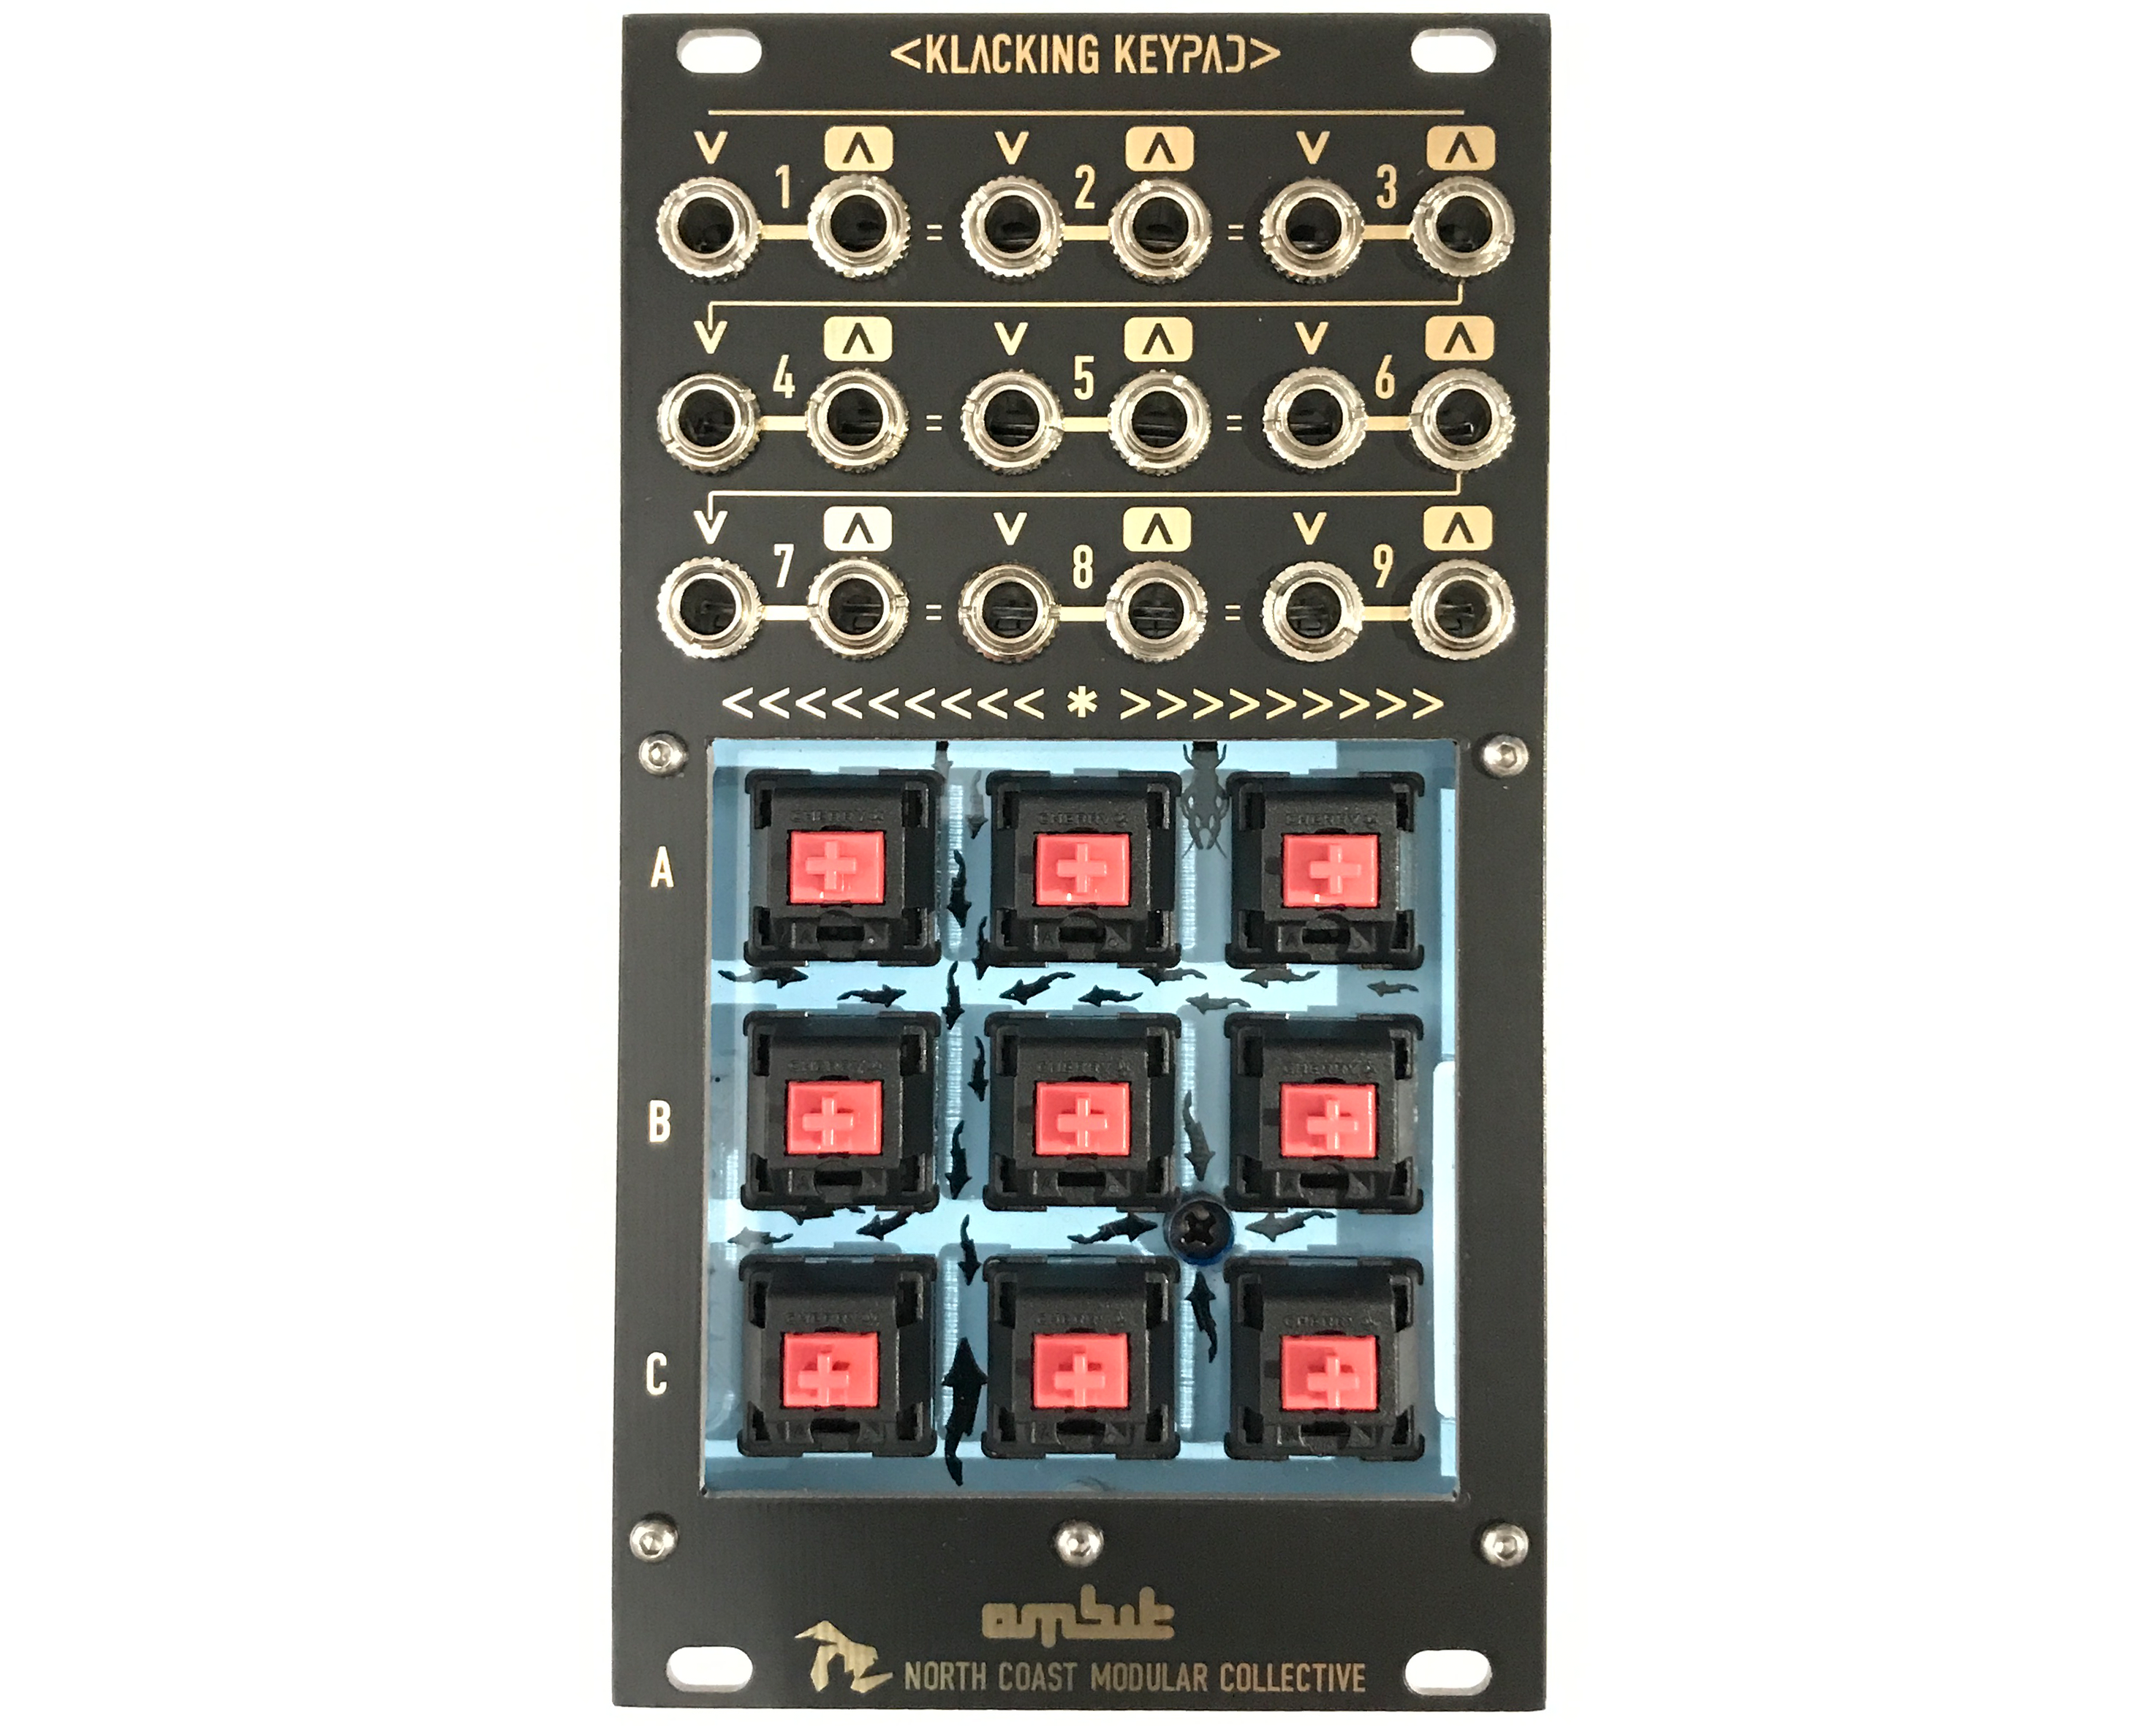
Check to make sure the keyswitch pins are not bent before placing them. Put each keyswitch in place, check pins from back of Control Board. If you can see the pins through the holes, push them through. The keyswitches will snap into place. They should be flat on the Control Board PCB before Soldering.
We are now done with the Control Board. We just need to calibrate and we are done!